
Items
Regretevator items and coin strategies: Token of Midas, Compass, Floppies and Sea Bunnies — what to buy first and how each passive boosts your runs.
Introduction
The Items category covers everything you can spend coins on in Regretevator and the collectibles you find hidden across floors. Items are the bridge between raw survival and long-term progression: survivability passives keep your floor streak alive, coin multiplier items like the Token of Midas and the Compass multiply your earnings, and lore collectibles like Floppies and Sea Bunnies turn an already deep game into a full scavenger hunt. These guides explain what each item does, how to get it, and how it fits into a build. Cost and tier lists help you decide what to buy first, while combo guides show how items synergize for streak farming or speed runs. Because the developer rebalances items and adds new ones every week, every article in this category is labeled with the update it reflects, and the item shop guide is updated whenever prices or effects change.
Item Shop Priorities
| Item | Effect | Cost | Best For |
|---|---|---|---|
| Token of Midas | 1.25x coin multiplier | Mid | Coin farmers |
| Compass | 1.75x multiplier + speed/jump | High | Speed / multiplier |
| Survivability passives | Max health / damage reduction | Low-mid | Streak protection |
| Floppies | Lore collectible (+100 HP gift) | Found | Collectors / builders |
| Sea Bunnies | Variant collectible | Found | Completionists |
| Hyperlaser | Tool for secret elevator | Found | Secret hunters |
Item Value Shortlist
Token of Midas
The classic 1.25x coin multiplier item every farmer should own. Affordable relative to its value and the first serious purchase on most build orders.
Compass
A powerful 1.75x coin multiplier with speed and jump boosts, balanced by lower max health and double damage taken. Great for speed runs, dangerous for streak protection.
Survivability Passives
Cheap passives that boost max health or reduce damage taken. The quiet heroes that keep your floor streak alive so your coin multipliers actually get a chance to pay out.
Floppies
Lore collectibles hidden across floors since January 2025. Giving one to Lampert, Prototype, Reddy, Melanie or Scag grants a +100 max health bonus, blending lore and progression.
Sea Bunnies
Variant collectible trinkets for completionists hunting every hidden item. Fun to chase, light on mechanical impact, and a great excuse to explore floors you would otherwise skip.
Hyperlaser
A tool item required for the secret elevator on Elevator Shaft, leading to the glowing AxoEye. Its value is mostly for secret hunters, but completionists will want it for the collection.
Core Mechanics
Items in Regretevator work as persistent passives and collectibles that shape how you farm, survive and explore. Coin multiplier items multiply the coins you earn per floor, and their effects stack with weekend multipliers, making them the backbone of any serious farming build. The Token of Midas provides a classic 1.25x boost, while the Compass grants a larger 1.75x multiplier plus speed and jump boosts at the cost of lower max health and double damage taken, a trade-off that demands careful build planning. Survivability items protect your floor streak, which in turn protects all the coins you have gathered, so they are usually the right first purchase for beginners. Collectible items like Floppies and Sea Bunnies are found hidden across floors rather than bought; they carry the game's lore and some, when gifted to the right NPC, grant a +100 max health bonus. Tools like the Hyperlaser unlock secret routes, which ties the item system directly into the secrets category.
Advantages
The item guides focus on value: every article tells you what the item does in one line, then explains the trade-offs and the situations where the item really shines. Cost and tier lists make shopping fast, so you do not spend coins on something you will regret later. The coin strategy pieces are especially detailed, showing how multipliers stack with the weekend bonus and how survivability keeps your earnings safe. Collectible guides split into clear location lists and lore explanations, which helps both casual players and hardcore hunters. Because item values change with rebalances, the guides clearly mark which update each price and effect refers to, so you can always check whether your favorite build is still current.
Challenges
Items are one of the most frequently rebalanced systems in Regretevator, so any guide quoting an exact cost or multiplier can become outdated within a single weekly update. The values for items like the Compass and Token of Midas come partly from community and wiki sources that may lag behind the live game, so numbers should be treated as directional rather than definitive. The collectible system also depends on floor rotation: a Floppy location that exists today may move in the next patch, and rare event items can disappear entirely when an event ends. Finally, item synergy is heavily playstyle-dependent, so a build that works great for one player may feel useless to another, and any universal 'best item' claim has to be qualified.
Frequently Asked Questions
Do coin multipliers stack with each other?+
Is the Compass worth its trade-offs?+
How do Floppies give a health bonus?+
What should I buy first as a beginner?+
Quick Tips
Protect the streak first. The floor streak is your earnings multiplier in disguise: every floor you survive pays coins, and dying wipes your progress, so survivability items are usually worth more than their coin cost. A few cheap health passives consistently out-earn a high-risk multiplier for newer players, so build your loadout around surviving instead of gambling on bigger multipliers.
Treat item values as date-stamped. The Compass and Token of Midas numbers come from community sources and can drift with rebalances, so always cross-check the latest update notes before spending a big pile of coins. A guide written last month may quote a price or multiplier that no longer matches the live shop.
Use Floppies with intent. Since gifting one to any of the five listed NPCs gives +100 max health, hand your first few to the NPC you see most to get the bonus sooner rather than sitting on a full collection. Wait to gift duplicates until you know the full location list and can plan around the +100 HP interactions.
Featured

Regretevator Items List: Every Passive, Shop Drop & Rarity
Browse the full Regretevator items list, from the Token of Midas 1.25x passive to Floppies, rare shop drops, and 2026 unlocks ranked by rarity.
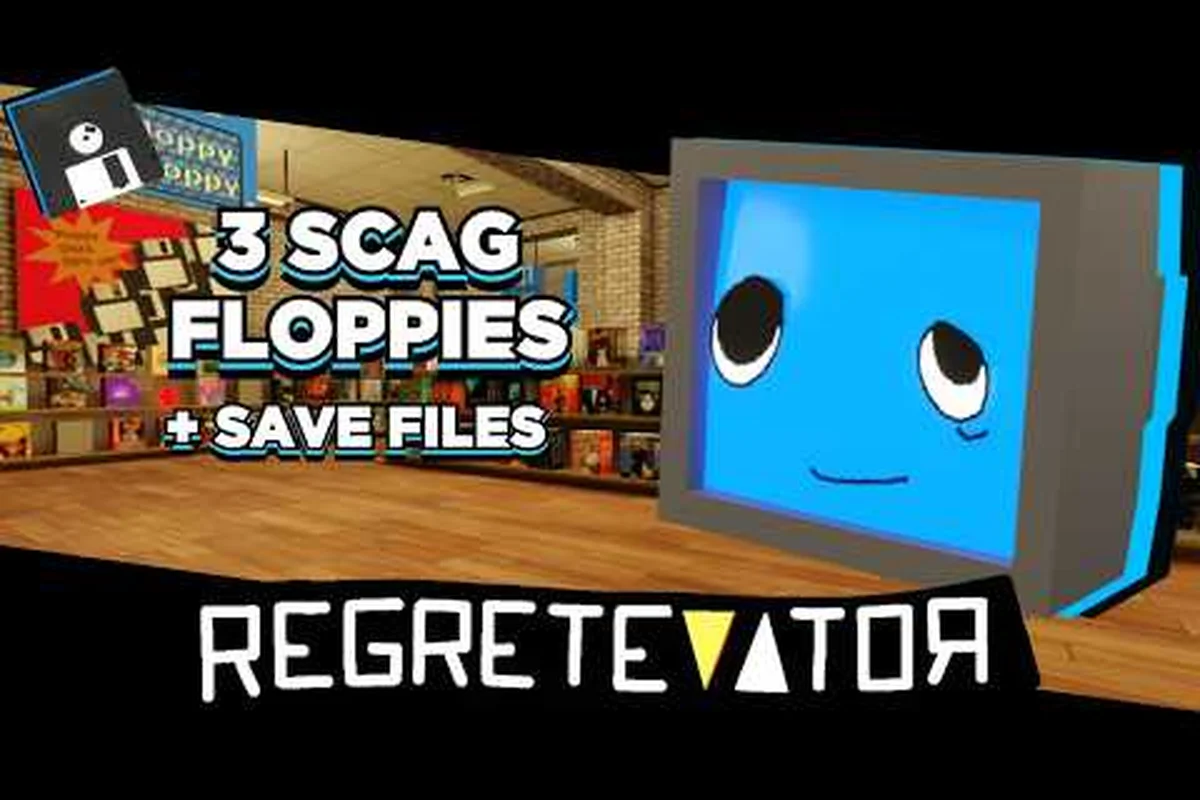
Regretevator Floppies Locations: Hidden Floors & NPC Gifts
Pin down every Regretevator Floppies location since January 2025, plus which NPCs reward you for trading these lore collectibles in the elevator.

Regretevator Item Synergy: Rare Unlocks & Combo Builds
Stack the best Regretevator item synergy builds, pair rare 2026 unlocks with classic passives, and learn which combos actually survive deep floor streaks.
All Articles

Regretevator How to Buy Items: Coin Costs & Priority
A practical Regretevator how to buy items walkthrough covering coin costs, cheap vs expensive picks, and consumables every rider should grab first.
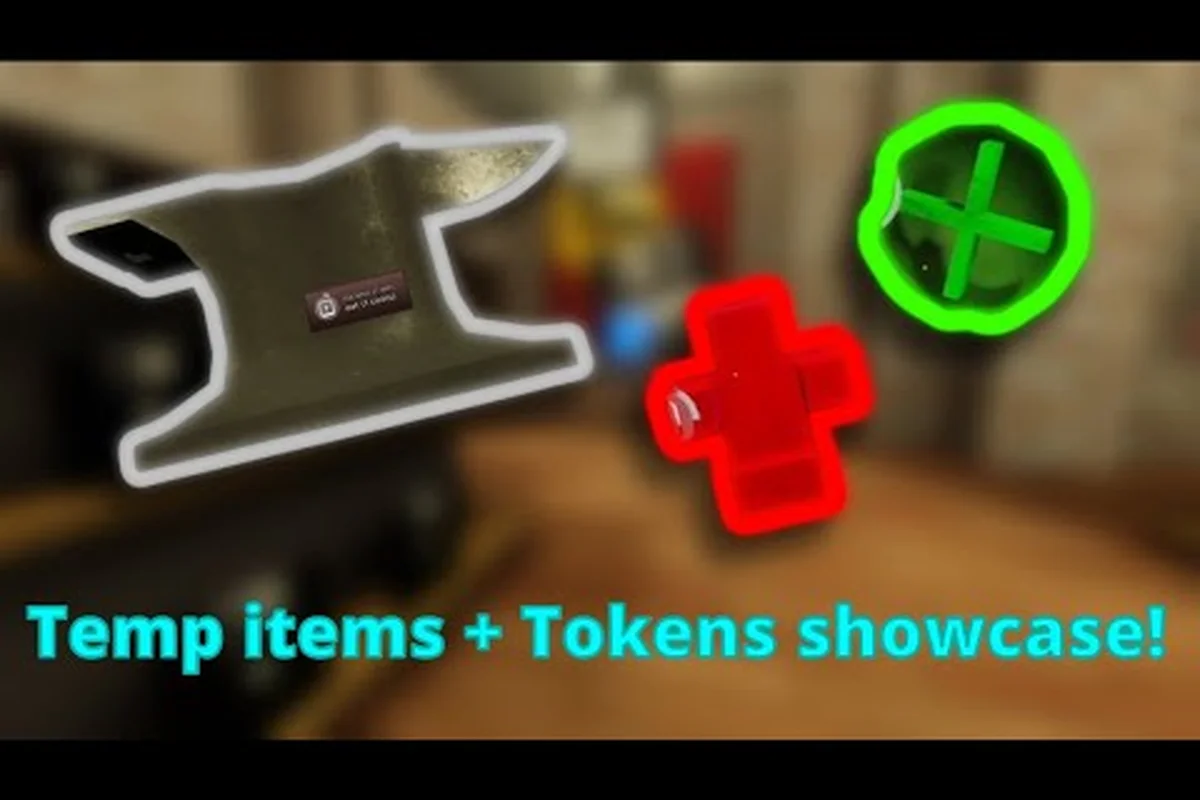
Regretevator Token of Midas Guide: Stacks & Synergies
Master the Regretevator Token of Midas guide, from its base 1.25x coin boost to weekend stacks, Compass pairings, and shop timing that doubles every run.

Regretevator Equipment Guide: Slots, Rerolls & Combos
Build smarter with the Regretevator equipment guide, from passive slot pairings and reroll tactics to item removal rules that protect your save slots.

Regretevator New Items: 2026 Reworks, Luck Boosts & Survivability
Browse every Regretevator new item added or reworked in 2026, from luck and speed passives to survivability and offensive unlocks that reshape your elevator build.