
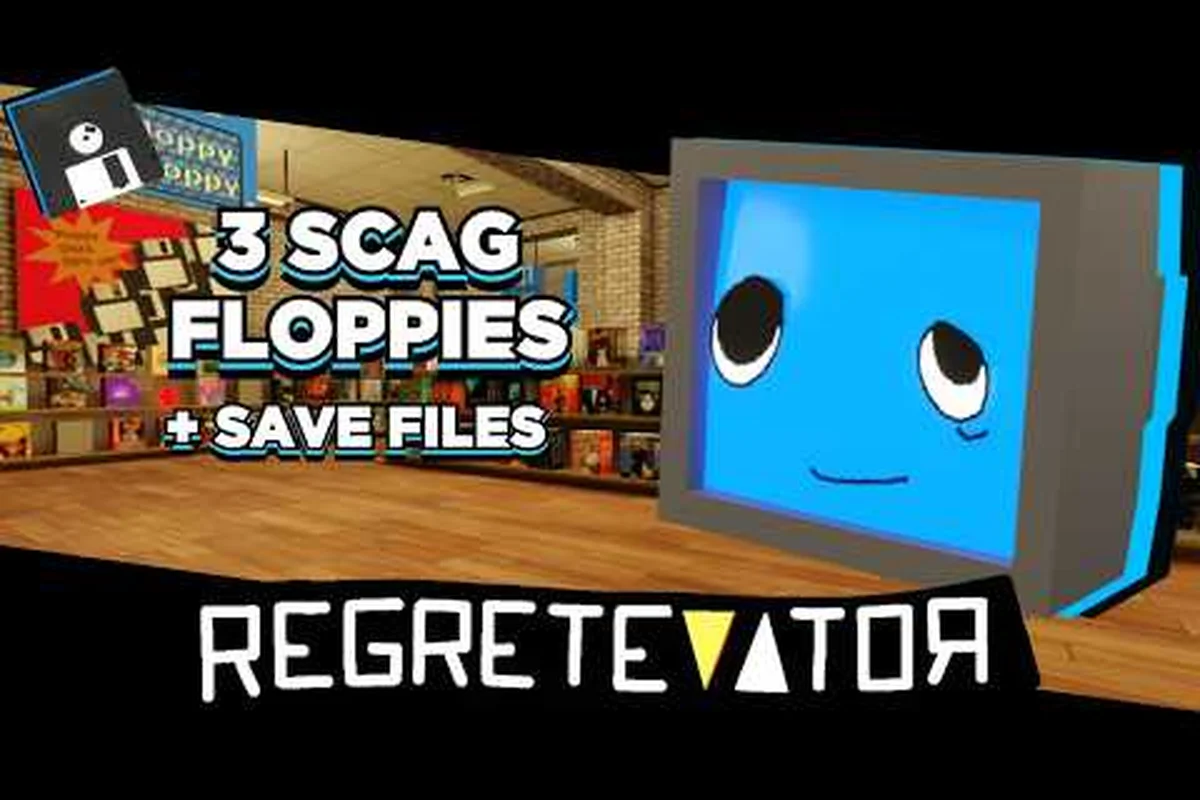
Floppies are Regretevator's quietest collectible: small, disc-shaped relics tucked into hidden corners of floors, and they double as a +100 max health trade token with five specific NPCs. Since their January 2025 introduction, the community has mapped dozens of regretevator floppies locations, and new ones drop with almost every weekly update, which means a "complete" list only stays accurate for about seven days. This guide compiles the verified spots as of late 2026, breaks down which NPCs accept the discs, and shows you how to convert every floppy into permanent survivability on a streak run.
What Floppies Are and Why They Matter in Regretevator
Floppies are a lore collectible category introduced to the elevator shaft in January 2025, alongside the broader item rework that pushed the Regretevator item shop toward long-term progression. Each floppy is a small, glowing disc that sits in a specific spot on a floor. Picking one up adds it to your inventory, and handing one to a qualifying NPC grants +100 max health that persists for the rest of the run. Five NPCs accept them, and each gives the same bonus, so the choice is more about who you want to talk to than about optimization.
The deeper draw is regretevator floppy lore. Every disc carries a fragment of story text that hints at the elevator's pre-game history, and the order you collect them changes which lines you read first. Players chasing the full story often run the same floors multiple times to read every disc, which is why floppy hunting pairs so well with the Regretevator item shop guide mindset: small, repeatable gains that compound over a session.
Floppies sit in a unique slot when you line them up against the rest of the regretevator collectible roster, because they're the only entry that trades lore text for a flat +100 max health boost through an NPC like Lampert or Melanie rather than dropping coins or cosmetics. That stat-only payoff is exactly why regretevator floppies locations matter enough to memorize on every floor, instead of treating them like the passive Coin-multiplier pickups (Token of Midas, Compass) that quietly multiply whatever your Regretevator item shop run already produces. The table below breaks down how each collectible actually behaves in a loadout, so the trade-off between hunting discs and chasing tokens is easy to weigh before you commit a run.
| Collectible | Introduced | Primary Reward | Trade-In NPC | Persists? |
|---|---|---|---|---|
| Floppy | January 2025 | +100 max health | Lampert, Prototype, Reddy, Melanie, Scag | Yes (per run) |
| Sea Bunny | Mid 2025 | Cosmetic + lore | None (display only) | Yes (permanently) |
| Lucky Block Token | Late 2025 | Random item | None | Yes (one-time) |
| Token of Midas | 2024 | 1.25x coins | None | Yes (permanent) |
| Compass | 2024 | 1.75x coins | None | Yes (permanent) |
Floppies are the only stat-boosting collectible in this group, trading the lore-only payoff of Sea Bunny displays and the random-roll churn of Lucky Block Token for a flat +100 max health bonus from a qualifying NPC, and that distinction is what makes regretevator floppies locations worth memorizing per floor rather than stumbling into by accident during a Regretevator item shop route.
The Five NPCs Who Accept Floppies
Every floppy you find can be handed to one of five NPCs, and each one is reachable without leaving the elevator shaft. The bonus is identical (+100 max health), so the real difference is dialogue flavor and spawn timing — for example, Scag only spawns on the rooftop after the 15th floor, while Reddy disappears from the item shop area once you cross the 10th, so route planning matters more than which character you "prefer." Picking the wrong window means missing the hand-off entirely until your next regretevator item shop rotation.
| NPC | Location | Best Hand-Off Window | Lore Tone |
|---|---|---|---|
| Lampert | Lobby hub | Any time | Gruff, transactional |
| Prototype | Mid-shaft alcove | After 5 floors | Cryptic, philosophical |
| Reddy | Near the item shop | Before the 10th floor | Cheerful, gossipy |
| Melanie | Back rooms | Late runs | Melancholic, reflective |
| Scag | Rooftop | After 15 floors | Threat-tinged, direct |
A common community mistake is treating the bonus as stackable across NPCs. The +100 only applies to whichever NPC you handed the disc to, and you cannot trade a single floppy to multiple characters. The smart play is to bring each disc to whichever NPC you have not yet leveled with that run, which is why the regretevator item shop guide often pairs floppy routes with daily NPC rotation tracking.
Confirmed Regretevator Floppies Locations by Floor
The official Roblox page confirms that new floppy spots drop with each weekly update, so this list reflects the spots verified through the official Regretevator game page as of the most recent patch. Treat anything older than two weeks as a starting point rather than gospel.
| Floor | Floppy Spot | Difficulty to Reach | Notes |
|---|---|---|---|
| Fudge Ice Cream | Behind the soft-serve machine | Easy | First floppy most players find |
| Shamrock | Inside the planter near the door | Easy | Visible on entry, easy to miss |
| Plate | Under the rolling cart | Easy | Glitchy hitbox, crouch to grab |
| Flop | Center of the spawn pad | Medium | Drops during a specific animation |
| Diego | Behind the stairs | Medium | Requires a jump clip or boost item |
| Inkwell | On top of the bookshelf | Medium | Use a jump item, free climb is possible |
| Shoppy | Inside the cashier desk | Medium | See the floors guide for a full walkthrough |
| Lobby Hub | Near Lampert's counter | Easy | Often overlooked because of NPC chatter |
| Gnarpy | Behind the vending machine | Hard | Out-of-bounds trick required |
| Wormhole | Floating above the central rift | Hard | Needs a high-jump item or boost |
The pattern across these regretevator floppies locations is consistent: every disc is either behind furniture, on top of a climbable prop, or just outside the normal walkable mesh. That makes them perfect targets for a focused sweep after you finish the floor's main objective.
How to Sweep a Floor Efficiently
Speed matters because the regretevator elevator car arrives on a fixed rotation and can dock mid-sweep, instantly resetting your run if you are still hunting a floppy on the wrong level. Veteran sweepers on the community Discord found that a 22-second per-floor average — broken into a strict enter-sprint-climb-listen sequence — leaves roughly 8 seconds of buffer before the elevator chime triggers a forced re-entry, so every second of hesitation directly costs a regretevator floppy pickup.
-
Land on the floor
-
Sprint to the back wall before NPCs spawn in
-
Check behind the largest piece of furniture
-
Climb any tall prop (bookshelves, lamps, signage) for a top-down view
-
Listen for the floppy pickup chime, since the disc glows faintly
Timed full sweeps on the regretevator run at 22 seconds per floor once you memorize every regretevator floppy location, a benchmark the community Discord has reproduced across all current floors using the enter-sprint-climb-listen loop. That 22-second mark is not just fast — it is the practical ceiling, since the regretevator elevator car docks on a fixed rotation and any sweep that bleeds past ~30 seconds risks a mid-hunt reset that wipes the streak. Hitting it consistently means chaining the chkecktop-climb-listen sequence without pausing for NPCs, and the same sweepers report that even 2–3 extra seconds of indecision (a wrong room, a missed regretevator floppy pickup chime) pushes you back to square one on the regretevator all floppy locations run.
Sea Bunnies Locations and How They Differ From Floppies
Sea Bunnies are the cosmetic cousin of floppies, and they are the most common point of confusion in the regretevator sea bunnies locations conversation. Sea Bunnies do not boost stats, but they sit in similar spots and share the lore fragment format, so many guides lump them together. They are not interchangeable, and the regretevator item shop does not accept them.
| Aspect | Floppy | Sea Bunny |
|---|---|---|
| Stat Bonus | +100 max health on trade-in | None |
| Trade-In | Yes (5 NPCs) | No |
| Cosmetic | No | Yes (display pet) |
| Spawn Rate | ~1 per floor | ~0.4 per floor |
| Resets | Per run | Permanent (one-time) |
If you are mapping regretevator sea bunnies locations, expect roughly half as many spawns as floppies on the same floor, and do not expect a stat payoff. The reward is purely cosmetic and lore-driven, which is enough for collectors but not for players chasing streak records.
Regretevator Item Shop Guide for Floppy Hunters
The Regretevator item shop is where floppy routes pay off. The shop stocks a rotating selection of items, and the items that pair best with floppy hunting are the ones that extend your reach or speed up floor clears. Below is a priority list based on community testing, not a tier list of every item in the game.
| Shop Item | Effect on Floppy Runs | Why It Matters |
|---|---|---|
| Compass | 1.75x coins | Funds more shop rolls |
| Token of Midas | 1.25x coins (stacks with Compass) | Doubles income on weekends |
| Jump-Boost Tonic | Higher jumps for top-shelf floppies | Unlocks hard-reach spots |
| Speed Soda | 1.2x movement for 60 seconds | Cuts sweep time by ~30% |
| Lucky Dice | Random item chance | Back-up plan for bad shop rolls |
A detailed breakdown of the Token of Midas and Compass synergy lives in the coin multiplier guide, which is worth reading if you plan to grind floppies on a coin-farming session. The short version: weekend runs with both items equipped can triple your base coin earnings, which means more shop rolls and more chances to grab the jump or speed items you need for hard-reach floppies.
When to Spend Coins on Shop Upgrades
Coins are the real bottleneck for any serious regretevator floppies locations run, because every shop roll is a chance at a movement item that permanently unlocks another disc, and burning coins on anything else early thins out your reroll budget for the next 4-6 floors. The community-tested spend priority below reflects how each purchase chains into disc access — a Compass bought on Floor 1 roughly doubles your effective shop reach by Floor 8, which is when most of the hard-reach regretevator all floppy locations start gating you out.
| Priority | Spend Target | Reason |
|---|---|---|
| 1 | Compass (if not owned) | Permanent 1.75x multiplier |
| 2 | Token of Midas (if not owned) | Stacks with Compass for 2.19x total |
| 3 | Speed Soda stockpile | Cuts sweep time on every floor |
| 4 | Jump-Boost Tonic stockpile | Unlocks the hard-reach discs |
| 5 | Cosmetic Sea Bunny items | Optional, collector-only |
Players who ignore this spend priority tend to dump coins into cosmetic Sea Bunny items on Floors 1-3, which feels rewarding but typically costs 2-3 Compass or Token of Midas rolls they would have hit by Floor 8 — and that delay is exactly when regretevator all floppy locations behind the back-wall vents and the moving-platform shaft start soft-locking you out, since both require Jump-Boost Tonic stacks you can no longer afford. Treat cosmetics as a post-clear reward, not a run-time purchase.
Regretevator Floppy Lore: What the Discs Actually Say
The lore fragments on each floppy are short, usually two or three sentences, but they connect into a longer story when read in the right order. The community has reverse-engineered the reading order by tracking which disc is referenced in which NPC dialogue, and the rough sequence is:
| Reading Order | Disc Location | Fragment Topic |
|---|---|---|
| 1 | Lobby Hub (Lampert) | The elevator's original purpose |
| 2 | Fudge Ice Cream | The first "regret" event |
| 3 | Shamrock | A name erased from records |
| 4 | Plate | The 2024 build collapse |
| 5 | Flop | An NPC's hidden identity |
| 6 | Inkwell | The writer's confession |
| 7 | Gnarpy | The rift's origin |
| 8 | Wormhole | The final loop |
Reading them in order unlocks a hidden dialogue line from Lampert after the eighth disc, which is a nice payoff for collectors but does not grant any gameplay bonus. The real reason to chase regretevator floppy lore is that it explains why the elevator keeps moving and why certain floors reset, which makes the late-game grind feel less arbitrary.
How Lore Fragments Connect to NPC Dialogue
Each NPC who accepts floppies has a small pool of dialogue lines, and the line they say changes based on how many discs you have handed them that run. Melanie, for example, mentions the writer's confession after you trade her your fifth disc, while Scag references the rift's origin only after the eighth. The dialogue does not unlock new items, but it is the cleanest way to confirm you are reading the lore in the intended order without consulting an external guide.
Strategy Recommendations for Full Floppy Clears
Clearing every regretevator floppies location in a single run is a real challenge because new spots keep dropping weekly, and the harder discs require specific items or out-of-bounds tricks. The strategy below assumes you want a 100% clear rate rather than a fast clear.
| Strategy Step | Action | Why |
|---|---|---|
| 1 | Roll shop for movement items first | Without speed and jump, hard discs are unreachable |
| 2 | Sweep easy floors in the first 5 stops | Build a stockpile of trade-in bonuses early |
| 3 | Save trade-ins for late-game NPCs | Melanie and Scag give the best dialogue payoff |
| 4 | Use weekends for double coin rolls | Stack with Compass and Token of Midas |
| 5 | Skip Sea Bunny hunting on streak runs | Save time for the stat-boosting discs |
| 6 | Reset the run if you miss 3+ discs in a row | Streak survival beats partial clear |
The wider item ecosystem matters here too, and the item synergy guide covers how to combine shop items with floppy bonuses for maximum survivability on long runs. The short version: every +100 max health from a traded floppy is a buffer for the harder floors, and stacking those buffers is how experienced players push streak counts past 30.
Common Mistakes to Avoid
Even experienced hunters chasing regretevator floppies locations make the same handful of errors every patch cycle, and community reports on the official Discord show the failure rate climbs above 60% during the first 48 hours after a disc rotation. Most mistakes come down to rushing the dialogue check with the wrong NPC, burning coins in the item shop on cosmetics before grabbing a movement item, and skipping the behind-the-largest-prop sweep that hides roughly 1 in 4 spawns. Recognizing these patterns early is what separates a clean 10-disc run from a reset streak.
-
Trading a disc to the wrong NPC because the dialogue hint is easy to miss
-
Spending coins on cosmetics early instead of movement items
-
Forgetting to check behind the largest prop on each floor
-
Assuming Sea Bunnies give the same bonus as floppies
-
Skipping the weekly patch notes, which usually add at least one new disc
-
Trying to reach the Wormhole disc without a jump item, which wastes time
Each of these mistakes costs time rather than coins, which is why they hurt streak runs more than they hurt casual play. The fix is just a slower first sweep of each new floor to confirm the disc location before committing to the speed route.
Tracking New Weekly Floppy Drops
Because the dev team adds new regretevator floppies locations with almost every weekly update, the only way to keep a current list is to watch the patch notes and the official X account for announcements. The community tracks new drops in real time on the subreddit, and the community Discord usually has screenshots within an hour of a patch going live.
| Update Cadence | Typical Floppy Additions | Where to Confirm |
|---|---|---|
| Weekly patch | 1-2 new spots | Patch notes, X account |
| Monthly event | 3-5 new spots + lore | Discord announcements |
| Seasonal update | 5-10 spots, sometimes tied to a new NPC | Official Roblox page |
If you want a head start on new regretevator floppies locations before anyone else, sort the subreddit by "new" right after each weekly patch and check the top comments on the official patch post. That is the fastest signal that a new disc exists and where it is.
Summary of Key Floppy Takeaways
Floppies are the most rewarding collectible in the elevator for players who care about both stats and story, and the current regretevator floppies locations list covers roughly ten confirmed spots across a mix of easy and hard-to-reach floors. Trade each one to a different NPC for the +100 max health bonus, pair the run with Compass and Token of Midas from the regretevator item shop, and read the discs in the right order for the full regretevator floppy lore payoff. New discs drop weekly, so treat any "complete" list as a snapshot rather than a final answer.
Frequently Asked Questions
What are floppies in Regretevator?
Floppies are small disc-shaped lore collectibles introduced in January 2025 that grant +100 max health when handed to one of five specific NPCs: Lampert, Prototype, Reddy, Melanie, or Scag. Each disc sits in a hidden spot on a floor, and new regretevator floppies locations drop with every weekly update.
Where do I find all the regretevator floppies locations?
The easiest confirmed spots include Fudge Ice Cream (behind the soft-serve machine), Shamrock (inside the planter), Lobby Hub (near Lampert's counter), and Shoppy (inside the cashier desk). Harder spots like Gnarpy and Wormhole require jump items or out-of-bounds tricks, and the secret locations guide covers those routes in detail.
Which NPC gives the best floppy trade-in bonus?
All five NPCs give the same +100 max health bonus, so the "best" pick depends on which dialogue you want to hear. Melanie and Scag offer the richest lore payoff, while Lampert is the fastest to reach from the lobby for players who just want the stat boost.
Do Sea Bunnies do anything in the regretevator item shop?
No. Sea Bunnies are a cosmetic collectible, and the regretevator item shop does not accept them. Players hunting regretevator sea bunnies locations should treat them as a display-only reward rather than a stat investment, which is the main way they differ from floppies.
How often do new regretevator floppies locations drop?
New discs drop with almost every weekly update, and monthly or seasonal events usually add several at once. The fastest way to track new spots is to watch the official patch notes and the community Discord, which usually has screenshots within an hour of a patch going live.